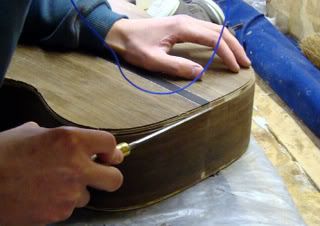
This picture shows the bindings in place around the perimeter of the body... Which means that this stage of construction is pretty much complete and the next step is to apply the first of around a dozen coats of lacquer.

After a thorough sanding, the body is now placed in the spraying area to await its first coat...
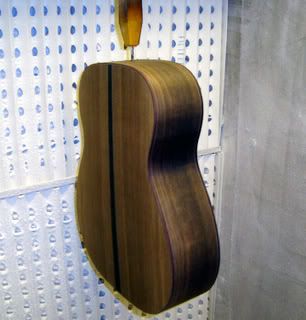
This next shot was taken after the initial coat of lacquer had been applied - you can see from the picture that this has darkened the rosewood down a little - and that it's beginning to look like a real guitar!
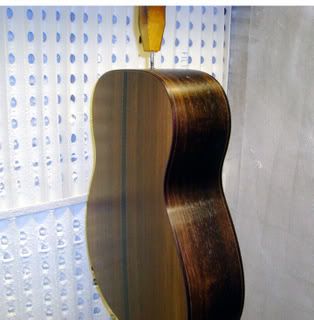
The body will now be hand-sanded between subsequent sprayings - Roger tells me that the final coat is left for up to 12 days to harden thoroughly before being buffed to the famous Fylde mirror finish.
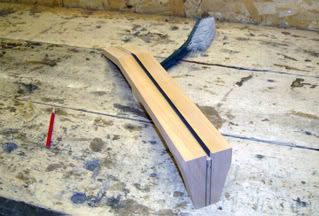
So while all that is going on, work starts on the neck. This begins as a single piece of Honduras mahogany which is sliced into three sections before some black lamination is inserted - then it's glued back together.
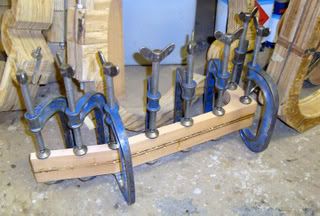
Once the glue is completely dry, the channel for the truss rod is carved out...
And there we leave it for now. If you're interested in having your own guitar built for you at Fylde - or would like to be kept abreast of developments with the company, why not hike on over to their website at www.fyldeguitars.com and sign up for the email newsletter. Alternatively, take a look around the site - there are bags more pics to look at and many more details regarding how all the instruments are built.
Finally, if you own a Fylde and you've moved since you bought it, drop Roger an email via the site and let him know your new address.
Now I think I'll go and uncork myself a bottle of seasonal yo ho ho... Happy Holidays!
No comments:
Post a Comment